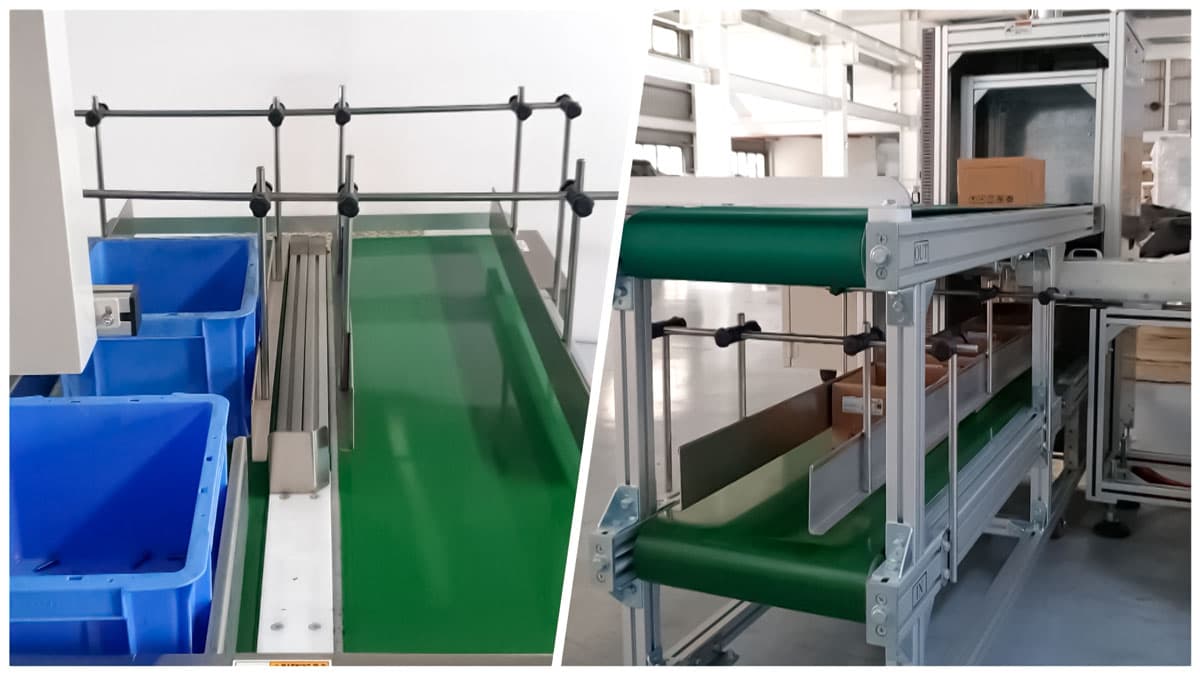
ROTARY DISK OPTICAL SORTING EQUIPMENT
EQUIPMENT FOR TESTING FASTENERS ON ROTARY DISK
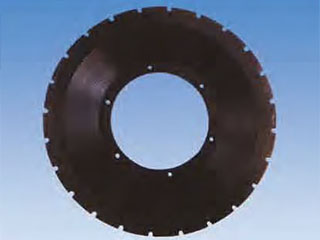
The metal rotary disc fastener testing equipment is designed to test the size and surface characteristics of the product and is suitable for unstable parts such as bolts, blind nuts and other components. The total length of the item to be checked is from 5 mm to 250 mm, the sorting speed is from 60 to 600 pcs / min, the accuracy is ±0.02 mm.
Since the manufacture of screws, blind nuts or other electronic components inevitably finds defective products, an electronic optical sorting machine is used as a substitute for the manual sorting process, which eliminates manual errors, improves sorting efficiency, reduces labor costs and makes it easier to remove products without meeting production requirements.
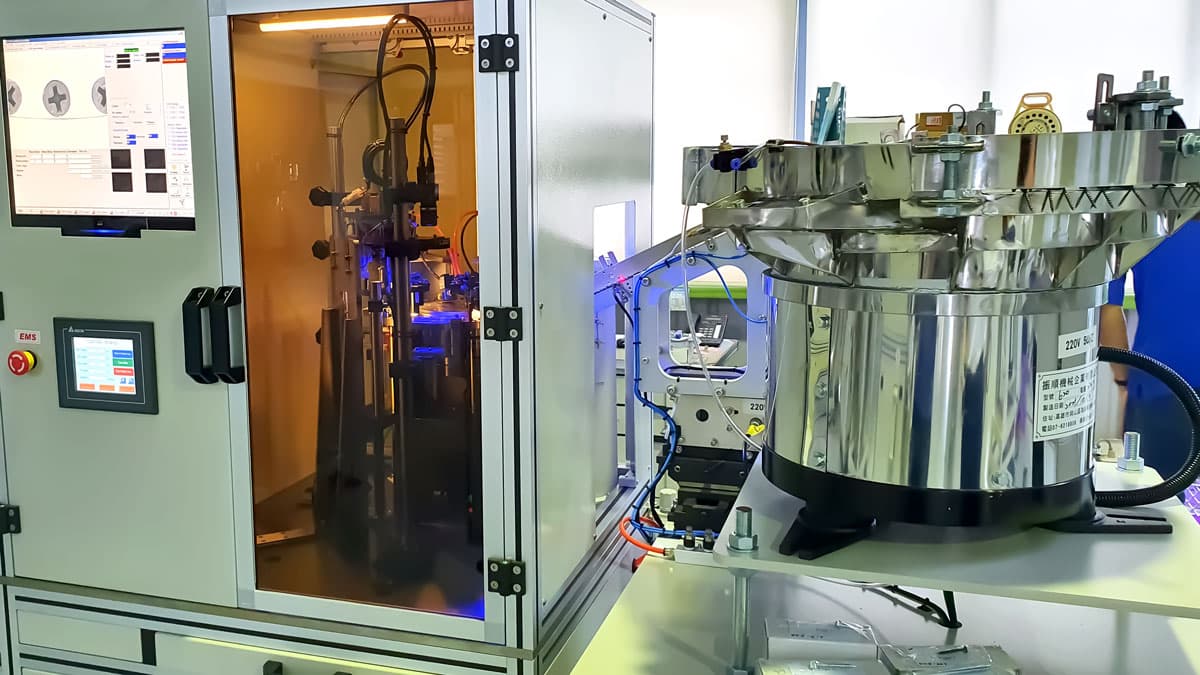
The machine for testing fasteners on a metal rotary disk is equipped with CCD cameras, thanks to the metal disk, the characteristics of the parts are quickly transferred to the CCD system, where they are automatically calculated and validated using software algorithms. The parameters of the rotary disc can be changed to inspect special screw shapes. .
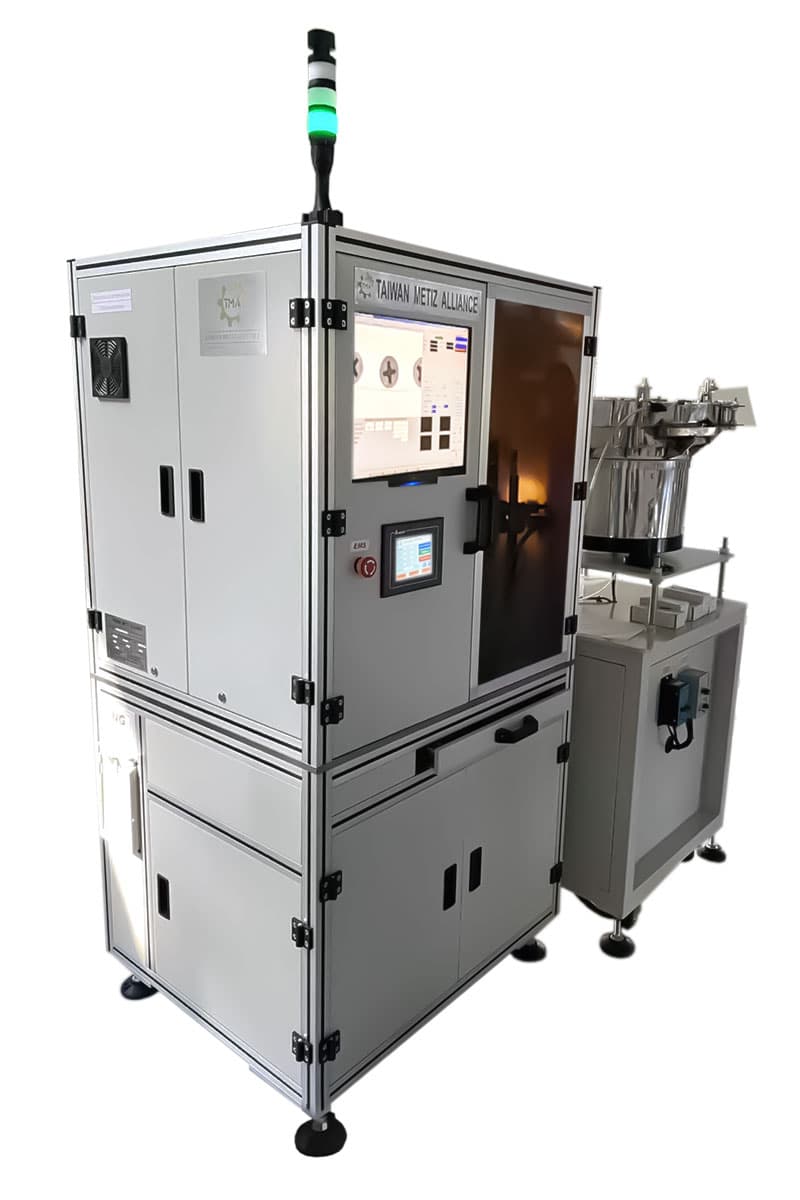
Optical Sorting Machine RGT-07 with 4 CCD Cameras
The machine is designed for optical quality control of self-tapping screws, bolts, pins, threaded rods in automatic mode. Equipment for testing fasteners on a rotary disk allows multiple scanning and testing of threaded fasteners to detect defects on the surface of products, damage to the thread and head.
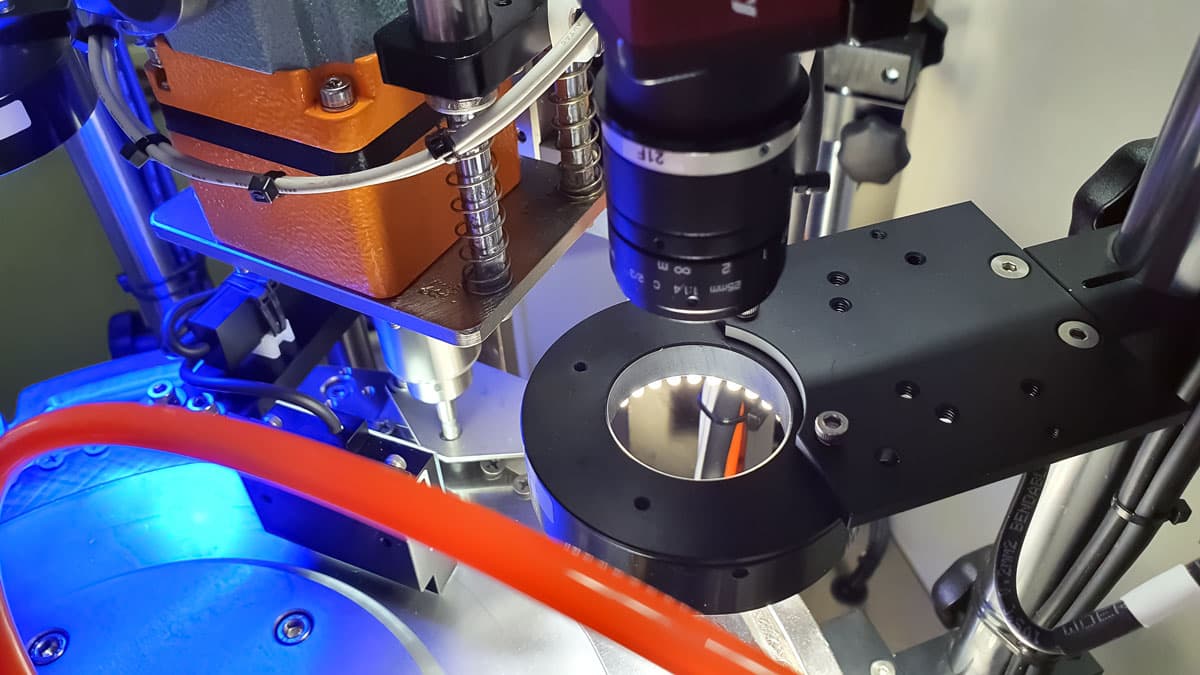
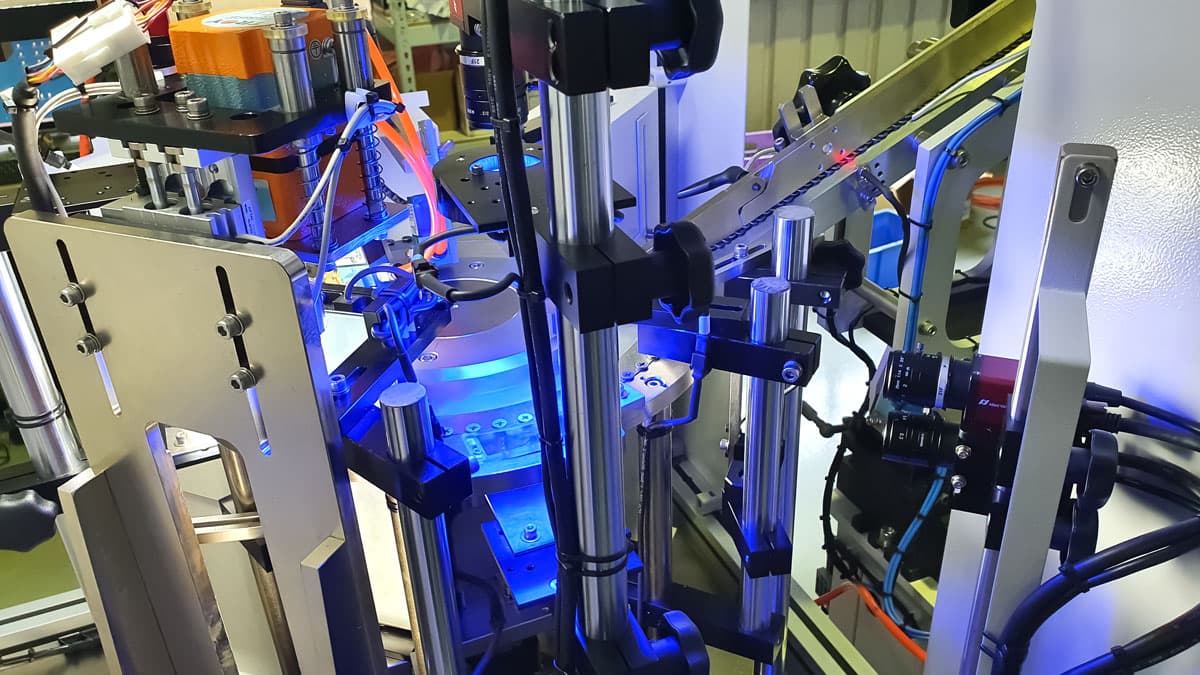
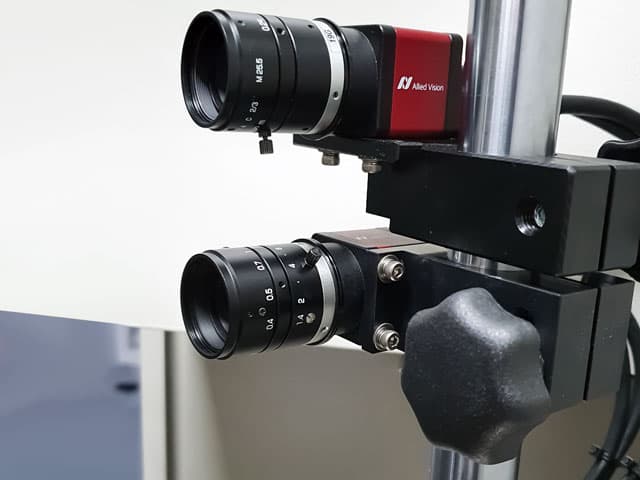
The inspection equipment is equipped with four industrial CCD cameras.
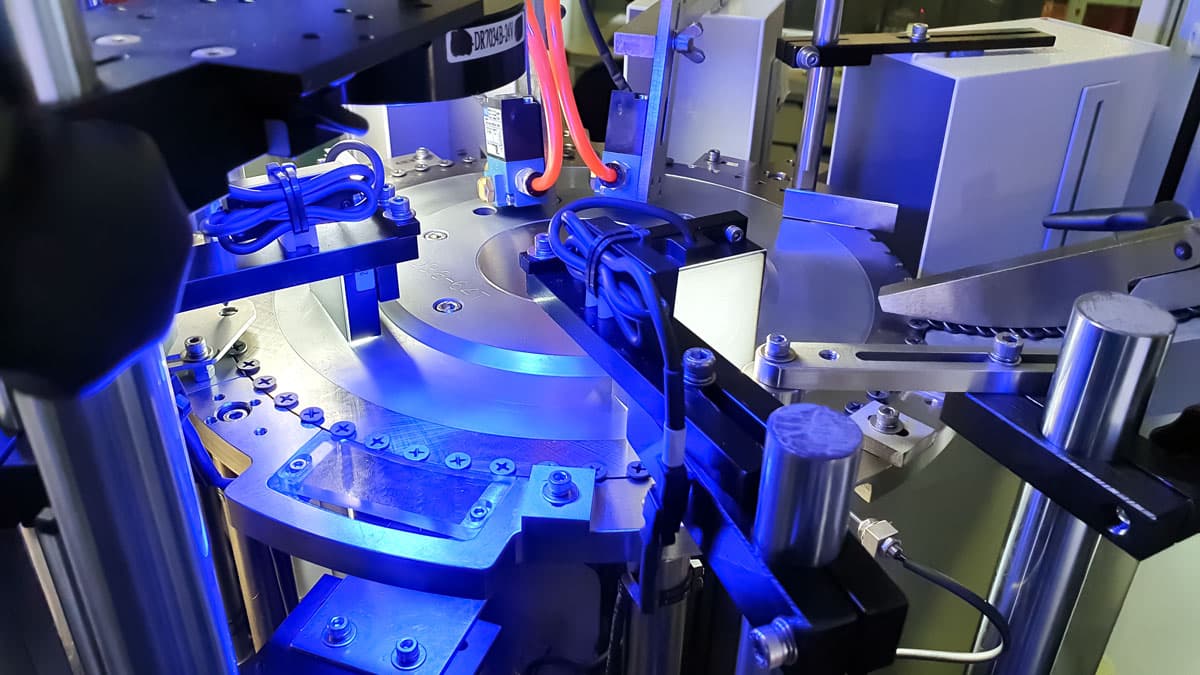
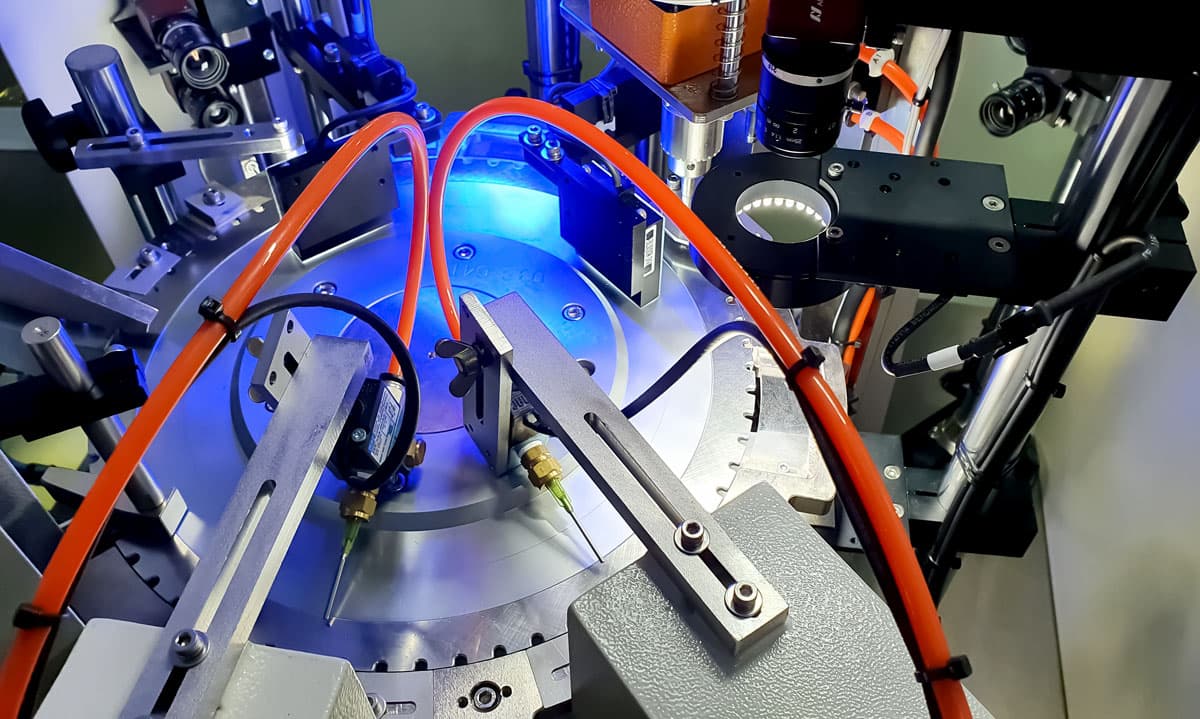
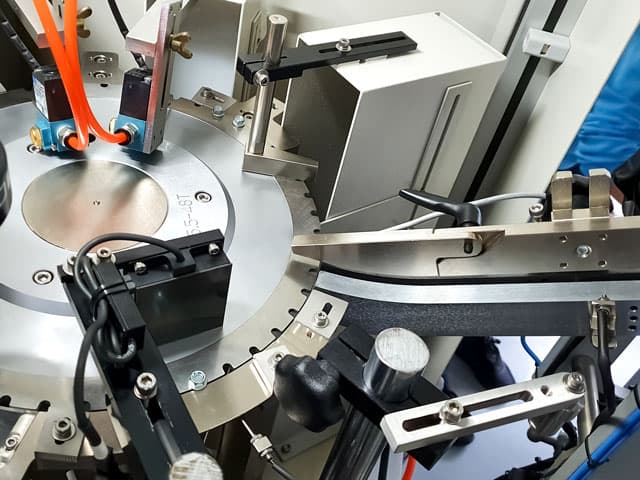
The tested rod products are fed to a multi-station rotary table (rotary metal disc) by means of a vibrating feeder and rail guides. The rotating disc contains equally spaced slots, which alternately pass through industrial CCD cameras to check for compliance with the parameters.
The reject blowing system uses electromagnetic controlled air ejectors, which blow the substandard products into the rejects compartment with a stream of air. This method is non-contact, operates at high sorting speeds and protects the fasteners being sorted from possible damage.
The Equipment Specification
- Sorting speed: 200-800 pcs/min. It is depending on size, checking parameter and feeding speed. See Table 1 for details.
- Size of products: diameter M3-M16 length 6-135 mm
- Sorting accuracy: ±1 pixel
- Parameters of check.
In standard mode 4 CCD are used (two top views, two side views) for checking following parameters:
- Height / Thickness of thread;
- Major diameter;
- Minor diameter;
- Length;
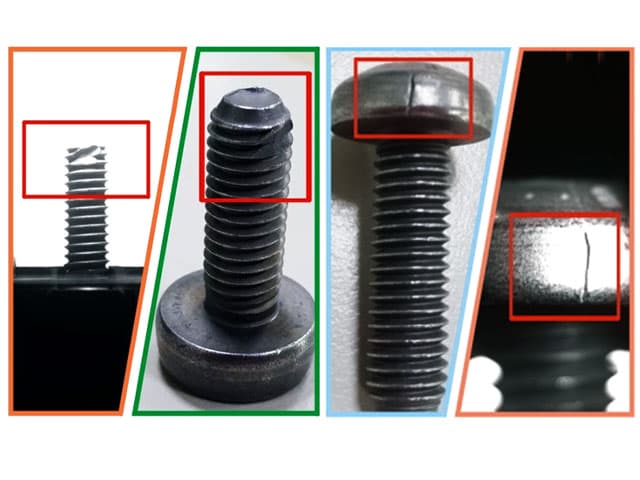
- Burrs or Chips;
- Roundness;
- Bent;
- Surface defects;
- Different Shape;
- Broken punch;
- Broken pin;
- Thread pitch;
- Open Cracks (displayed on CCD sensor, top view);
- Hex shape;
- With / without mark;
- Across corner (A/C)
- Across Flat (A/F)
In special mode 2 additional CCD are used to check bending and tread depth. In this mode sorting speed can be decreased to 30-50 pcs./min.
| Checked Parameter: | Product length | |||||
|---|---|---|---|---|---|---|
| <20 mm | 20~50 mm | 50~80 mm | 80~100 mm | 100~130 mm | >130 mm | |
| Height / Thickness | 400~600 pcs/min | 400~500 pcs/min | 200~300 pcs/min | 100~200 pcs/min | <90 pcs/min | <30 pcs/min |
| Major diameter | ||||||
| Minor diameter | ||||||
| Length | ||||||
| Burrs or Chips | 350~550 pcs/min | 350~450 pcs/min | ||||
Optical Sorting Machine Base Equipment
- Feeding bowl - 1 set.
- Digital CCD camera Allied Vision (Germany) - 4 sets.
- Computer ADVANTECH with LCD monitor View Sonic (Taiwan) - 1 set.
- Image Measurement System - 1 set.
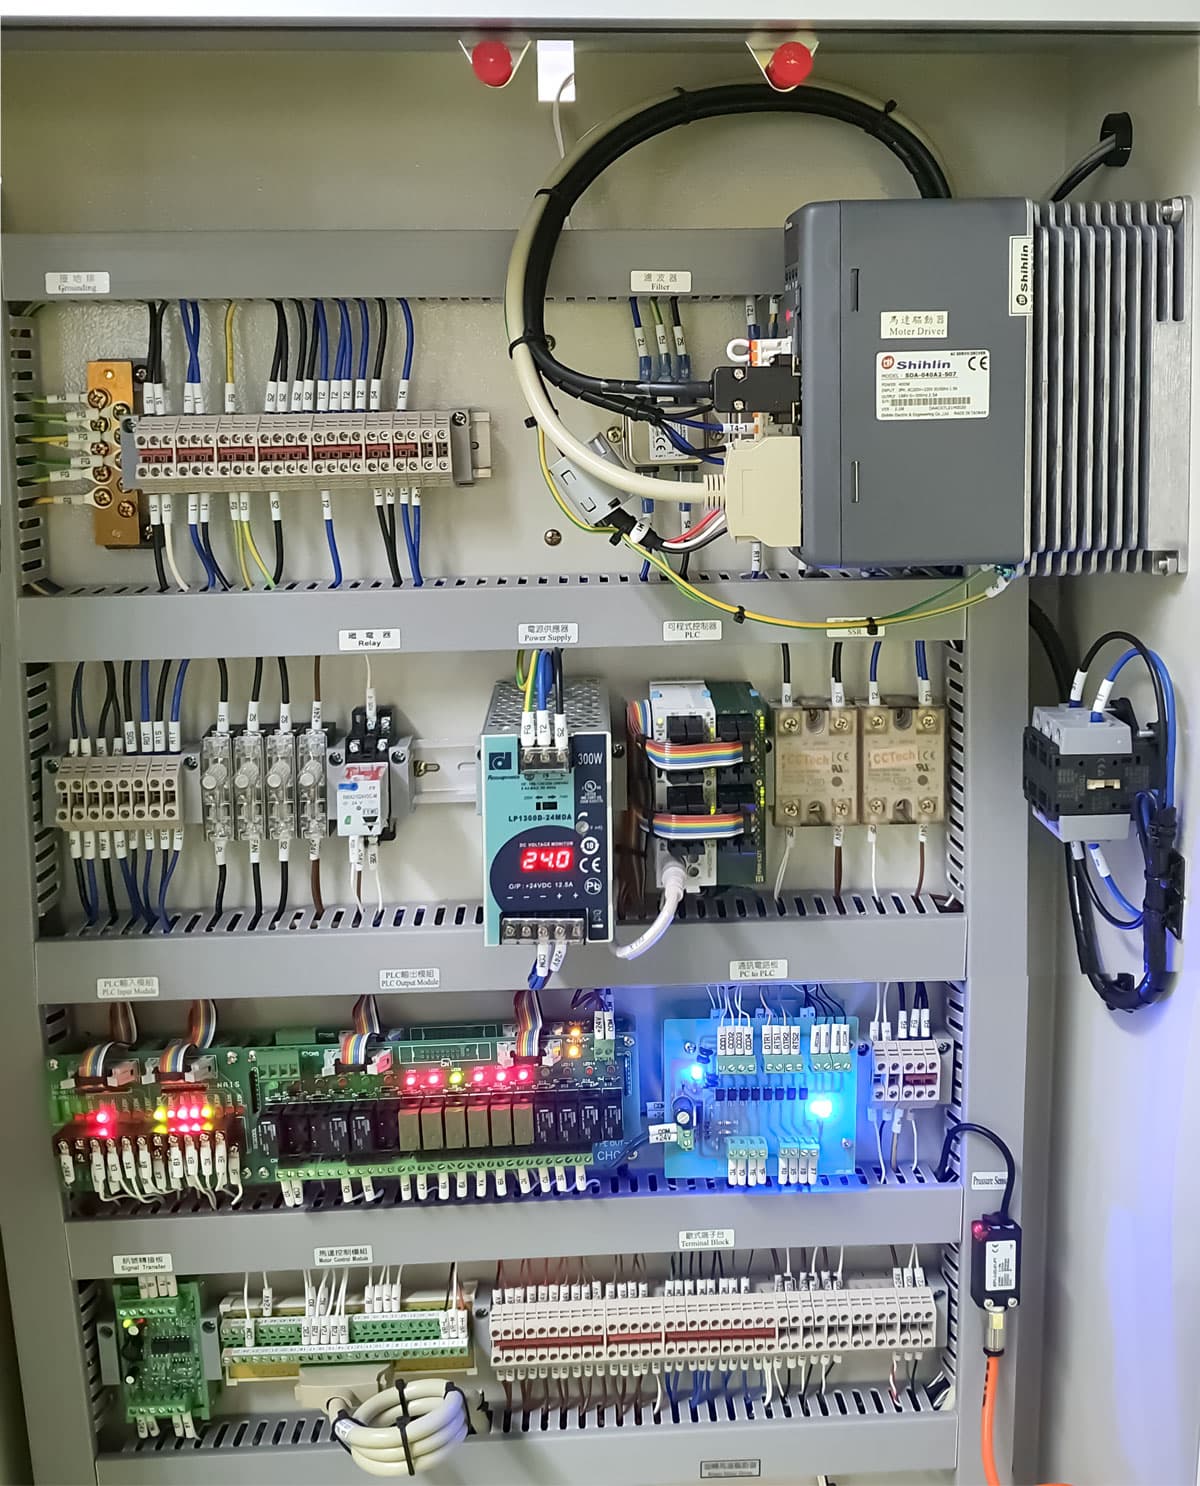
- HMI + PLC Panasonic (Japan) - 1 set.
- High resolution lenses VS Technology (Japan) - 4 sets.
- LED Back light module - 2 sets.
- LED Ring light module - 2 sets.
- Signal light - 1 set.
- Plate - 3 sets.
- Servo Shihlin Electric (Taiwan).
Auxiliary equipment for checking bend and thread depth
- CCD 2 sets.
- 360 ° steering device 1 set.
- Hole depth checking device - 1 set.
- Included lighting, attached devices, software.
Optical sorting on turntable
When carrying out an inspection check of parts of the same type and size range, there is no need to replace the turntable or other components. Reconfiguration in this case is done simply by changing the software settings.
When carrying out an inspection check of parts of different types and sizes, it is necessary to replace the rotary metal disk, adjust the position of digital cameras, and adjust the rail guide of the vibration disk. This very simple operation takes no more than 30 minutes. You don't even need a tool to adjust cameras.
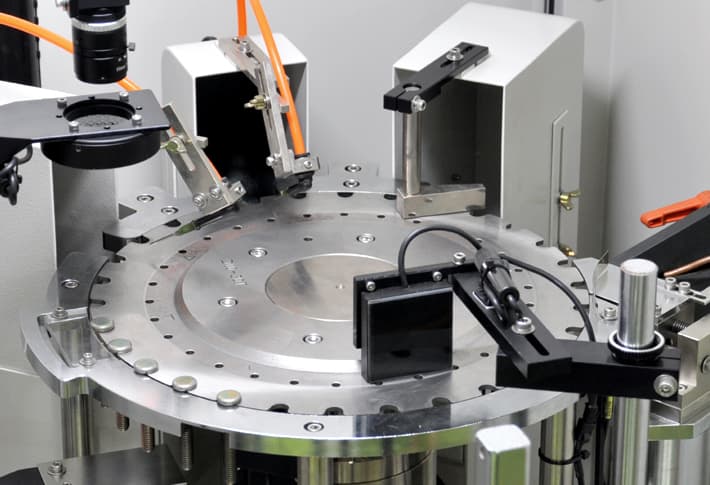

Design Features of Optical Sorting Equipment
The equipment is equipped with two separate sorting stations OK and NG. Sorted products are subject to subsequent classification.
If randomly inspected products are close to each other during inspection, or accidentally overturned, then they will not fall into the category of substandard products, but will automatically be sent for re-inspection.
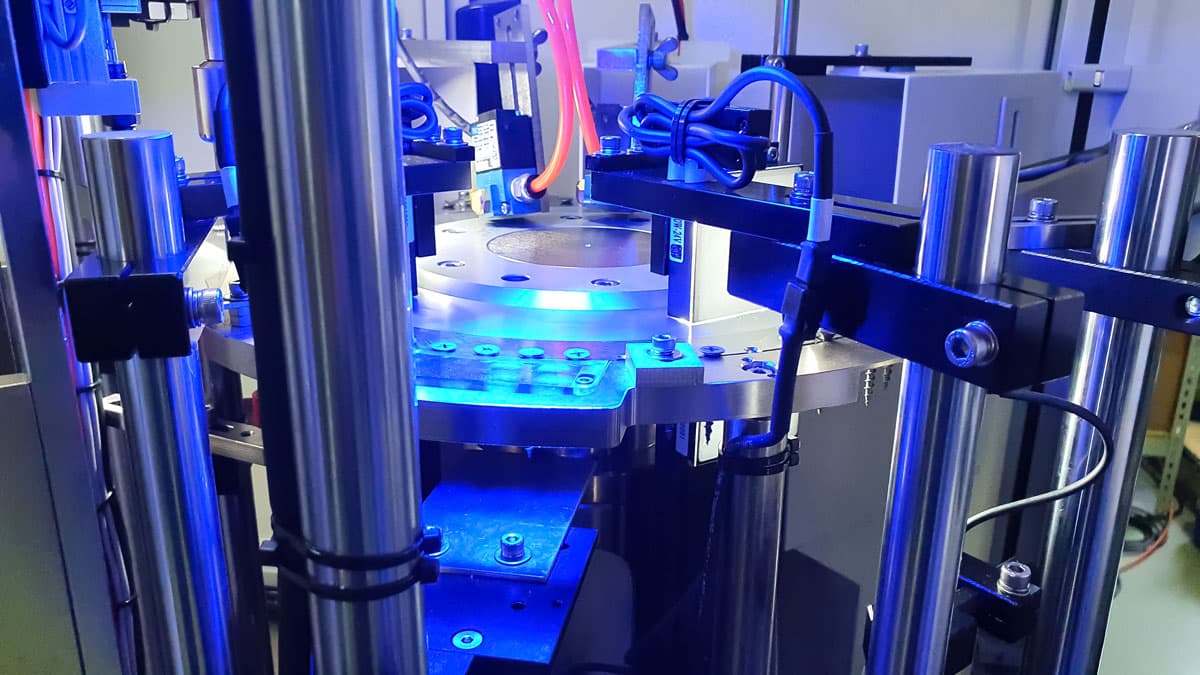
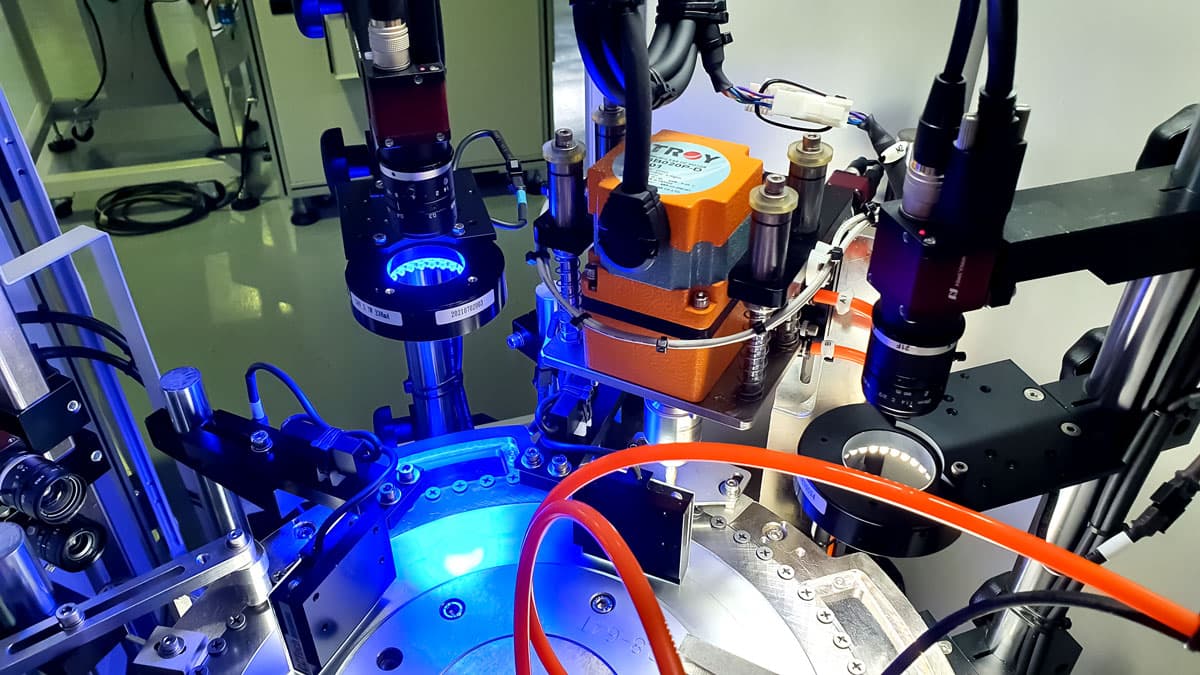
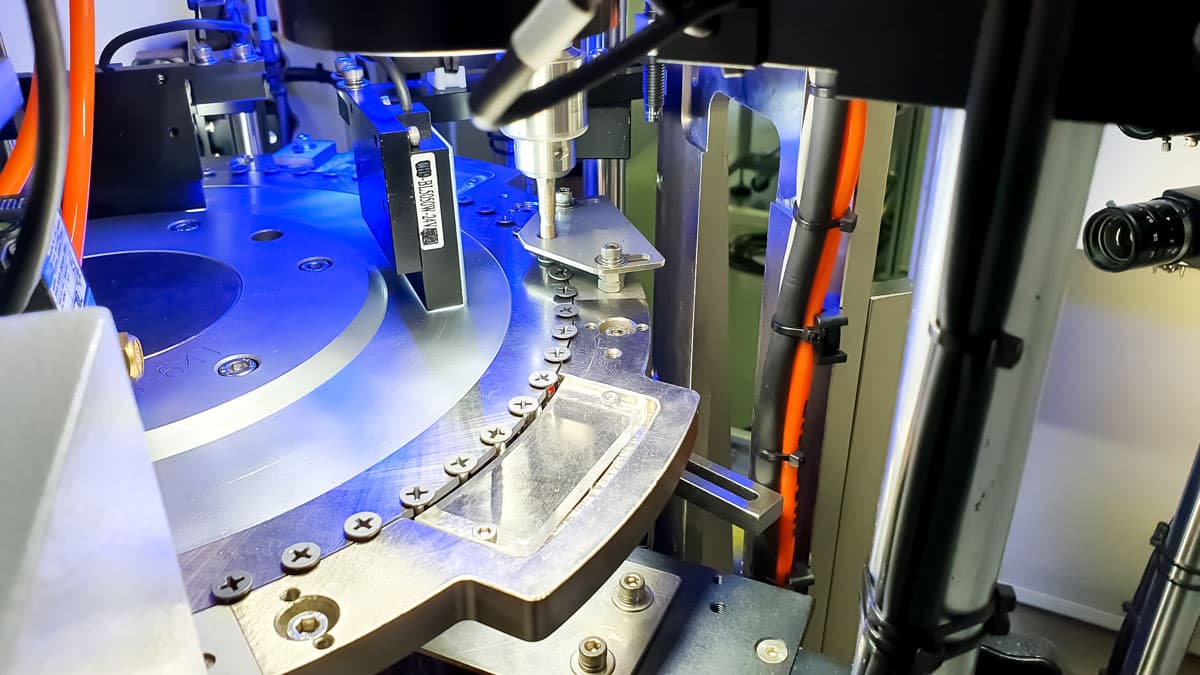
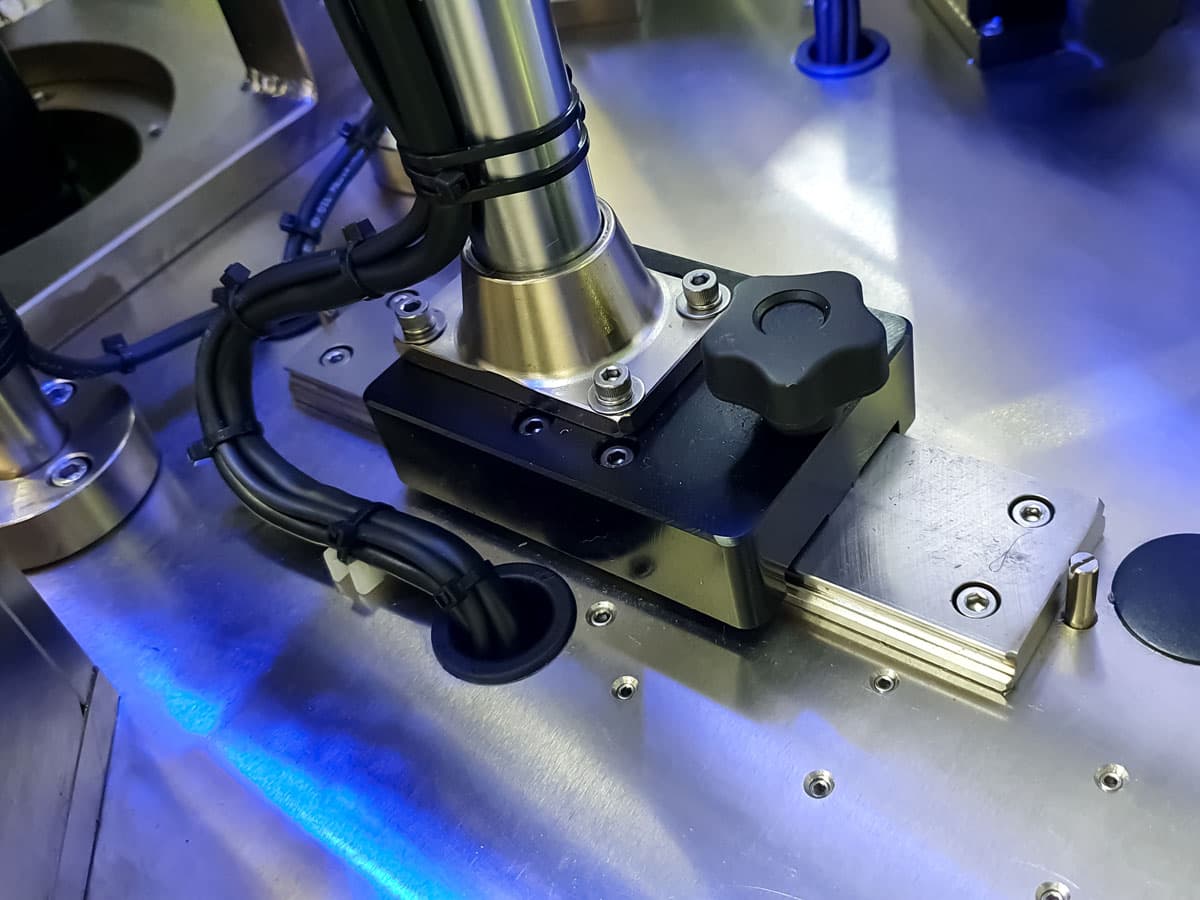
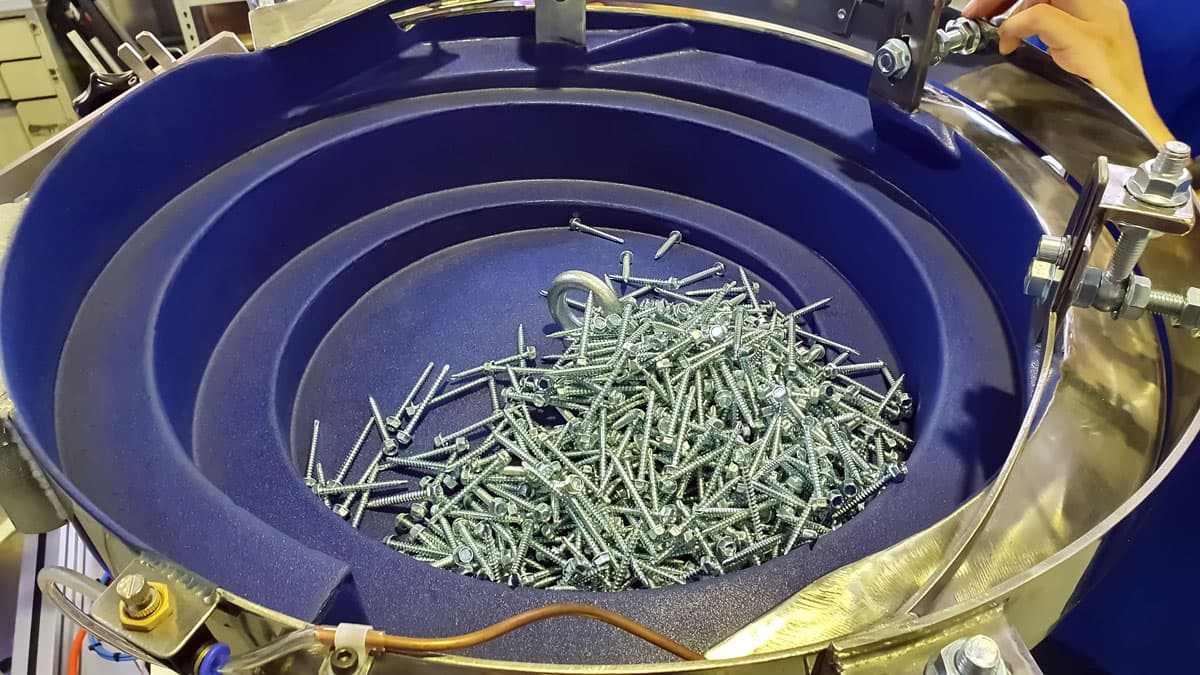
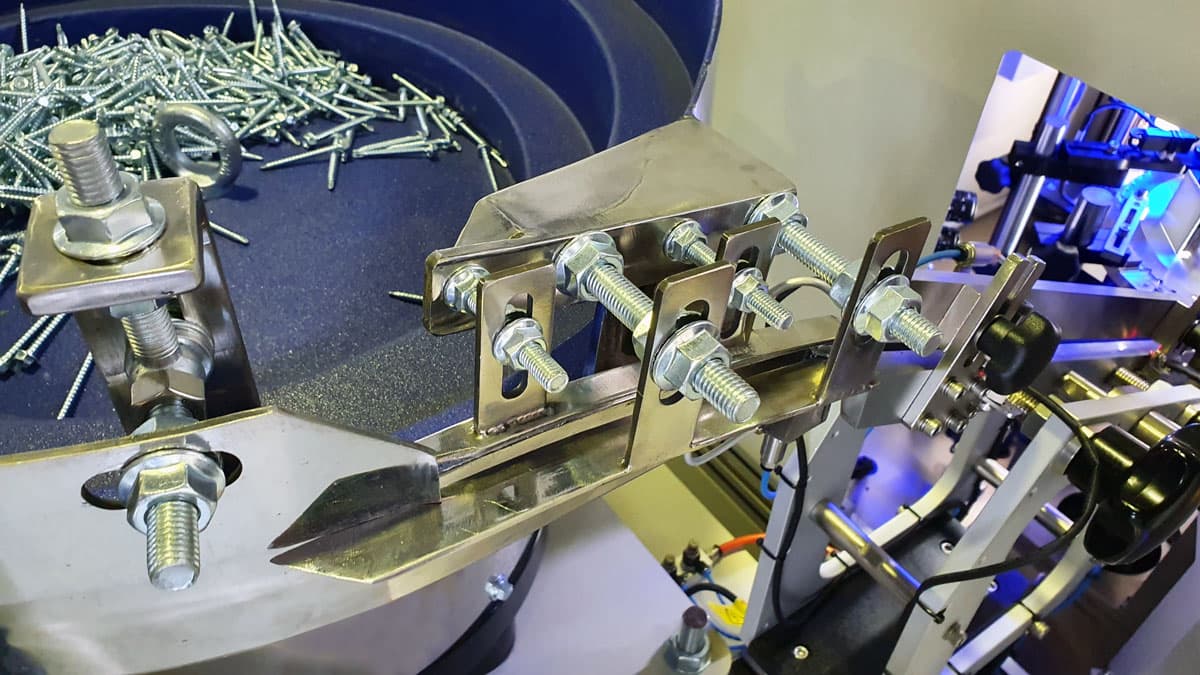
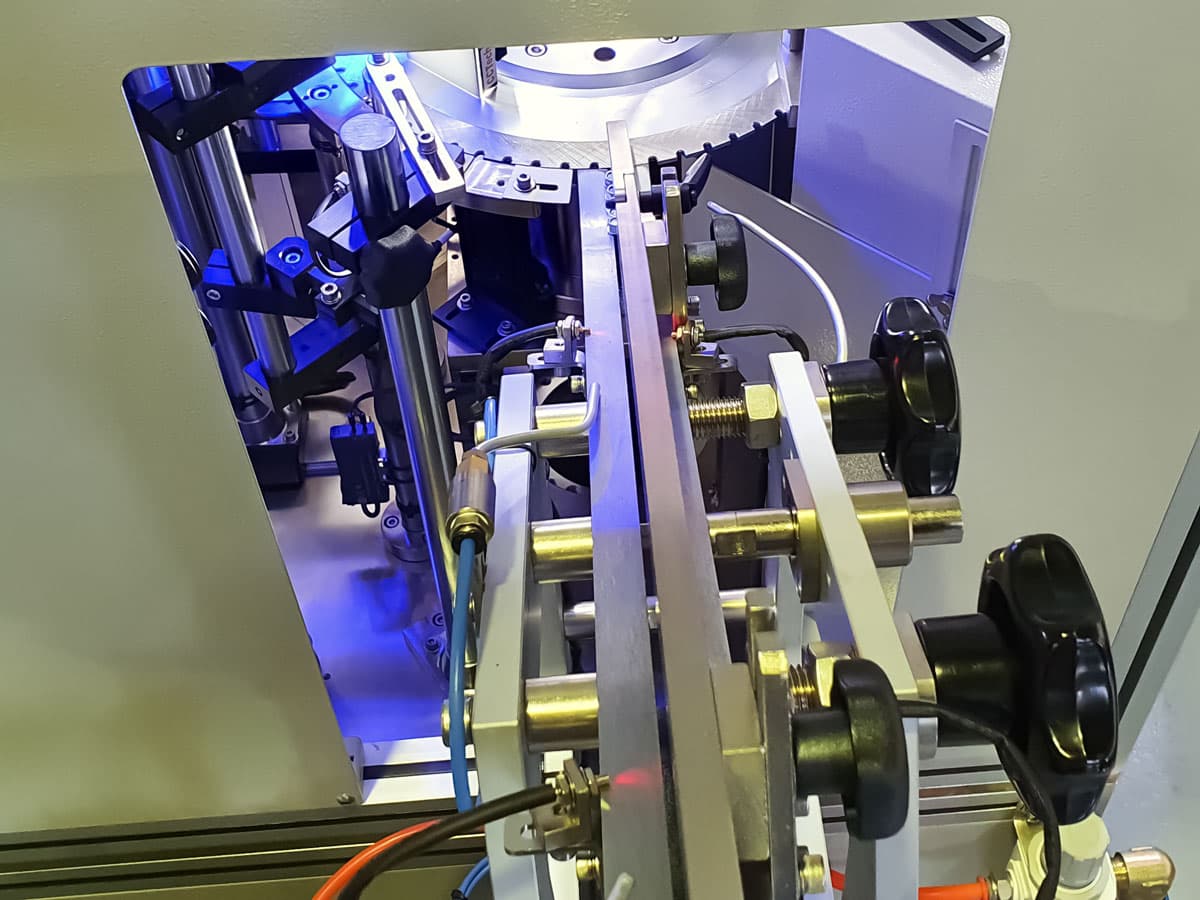
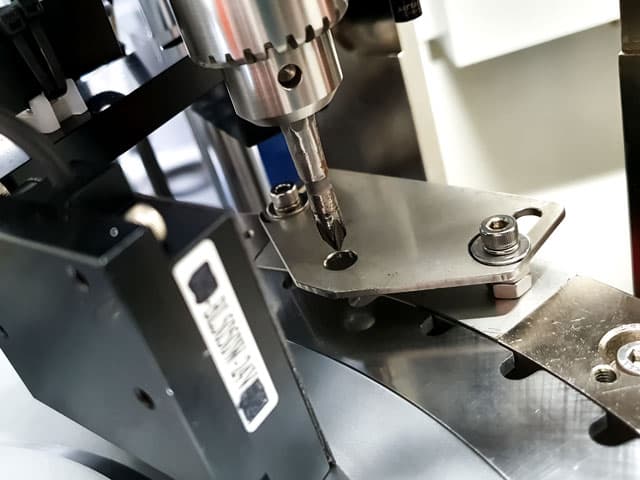
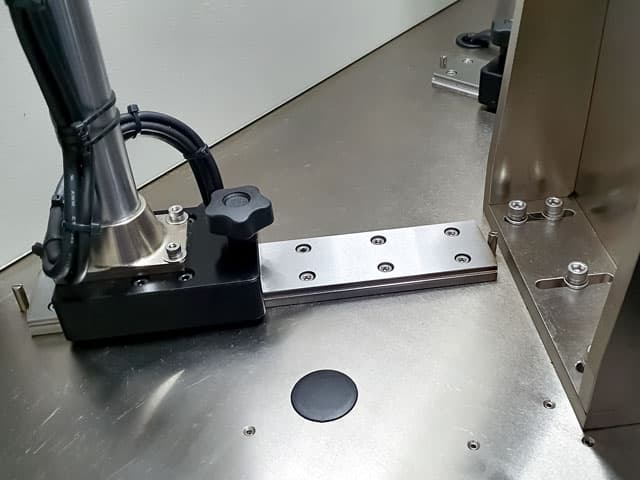
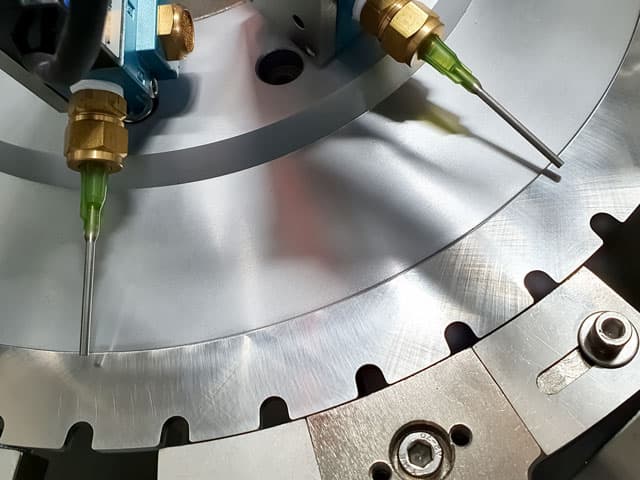
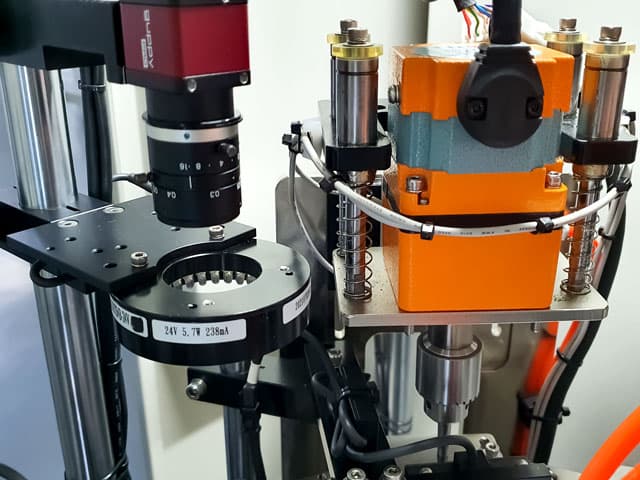
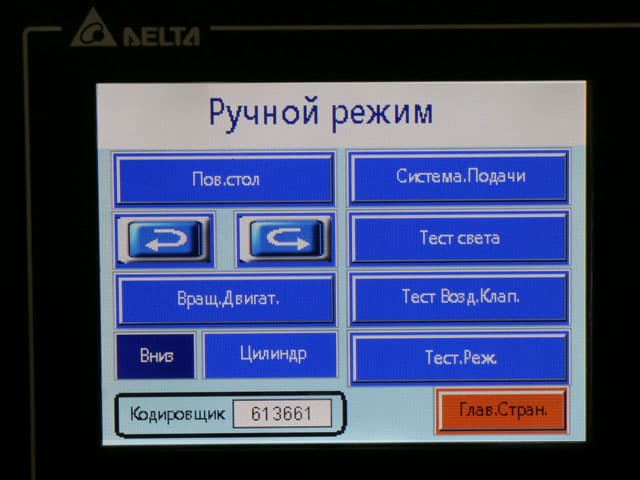
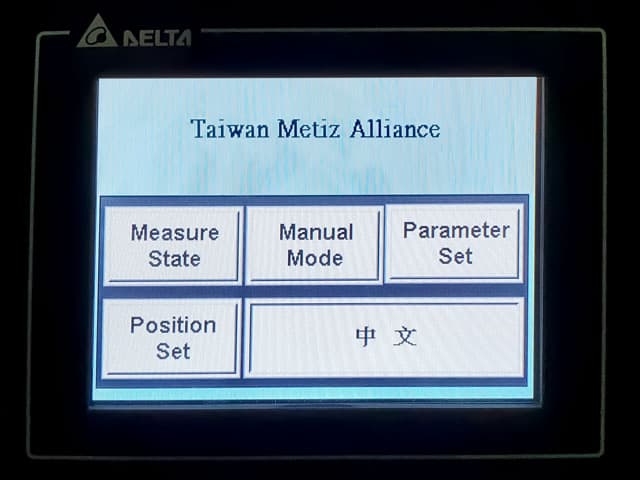
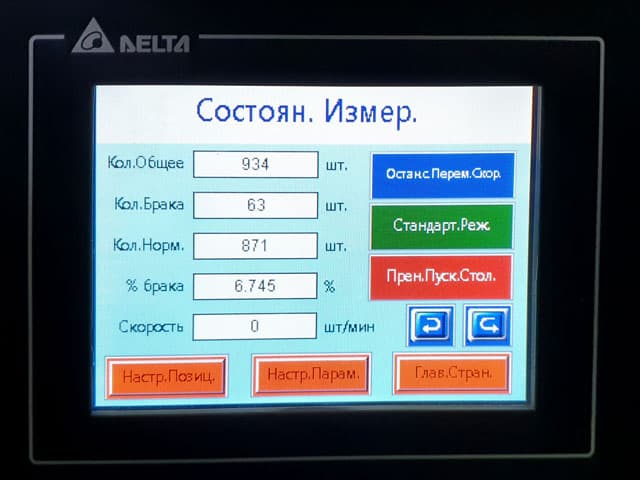
Display of optical sorting of fasteners
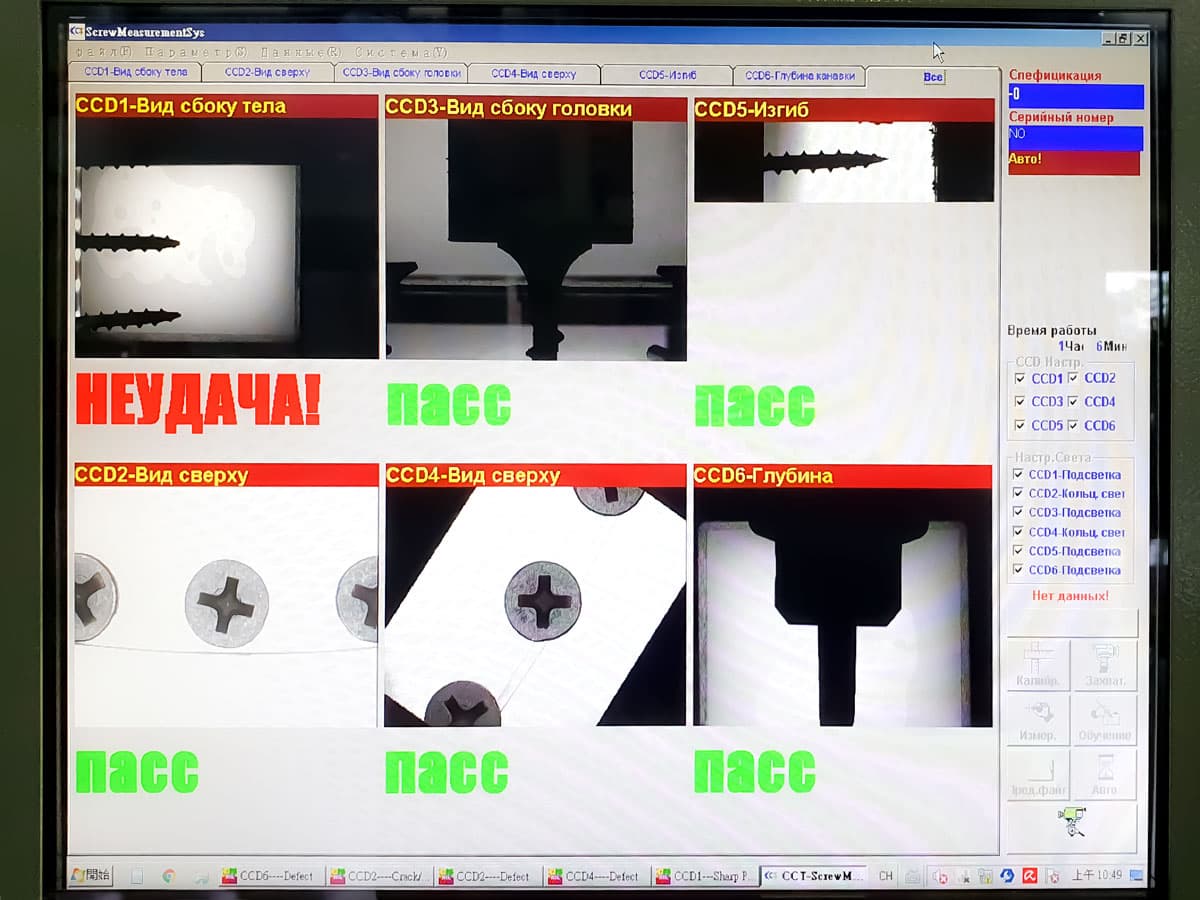
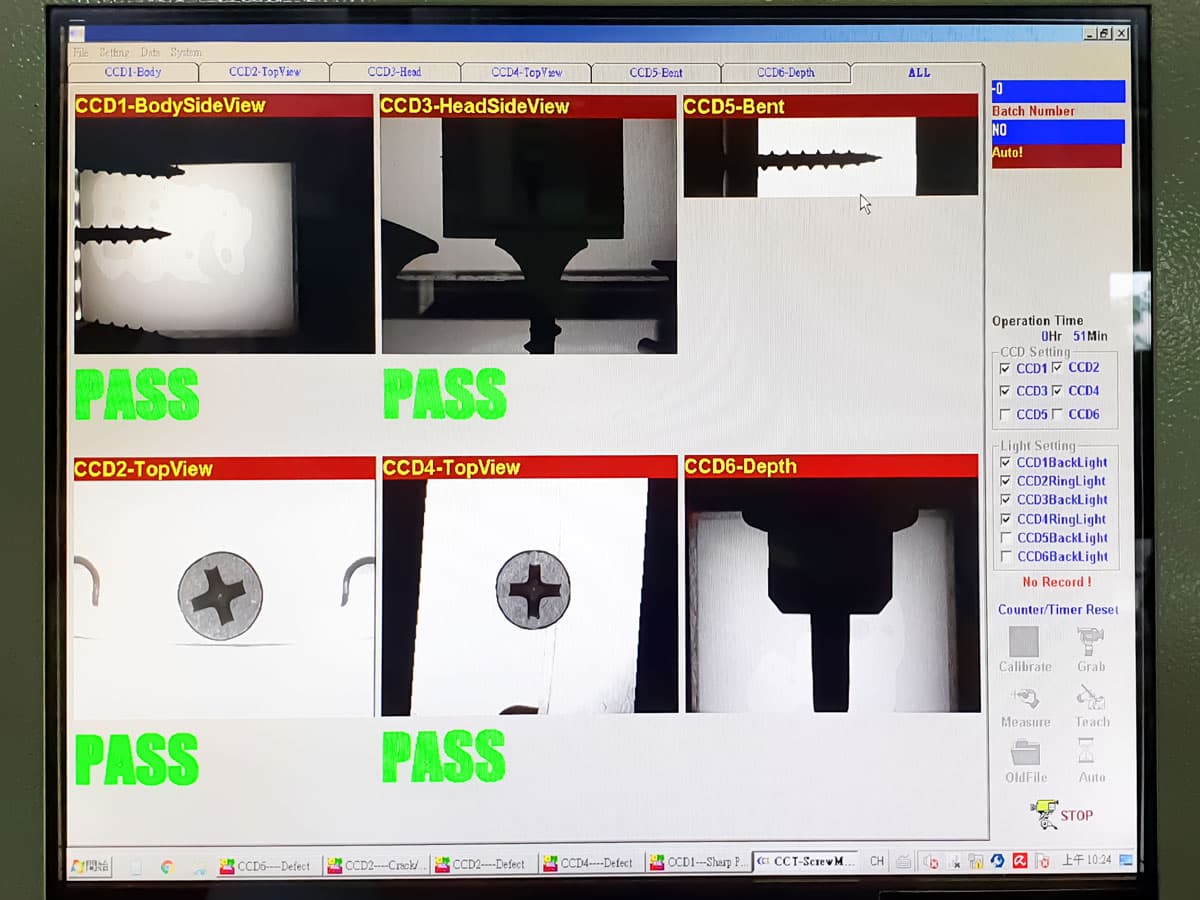
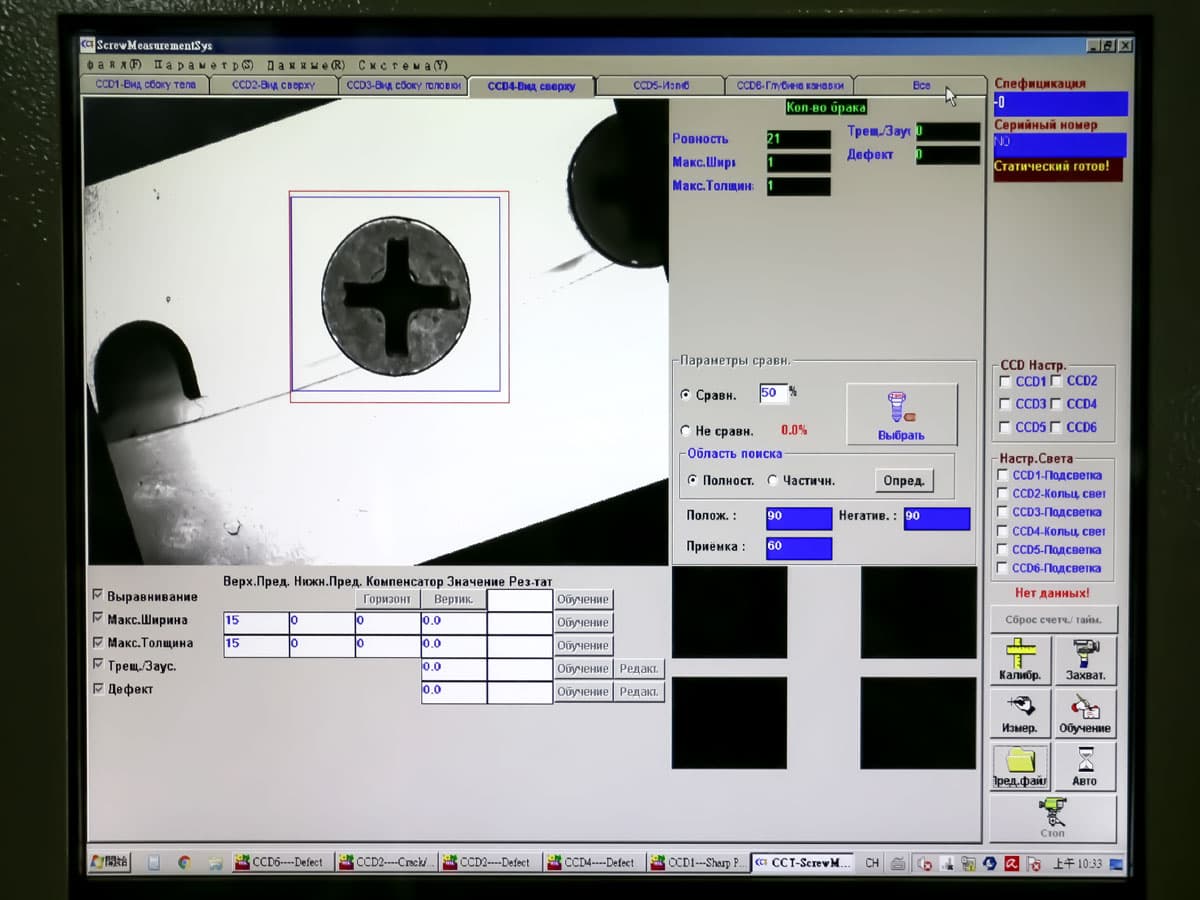
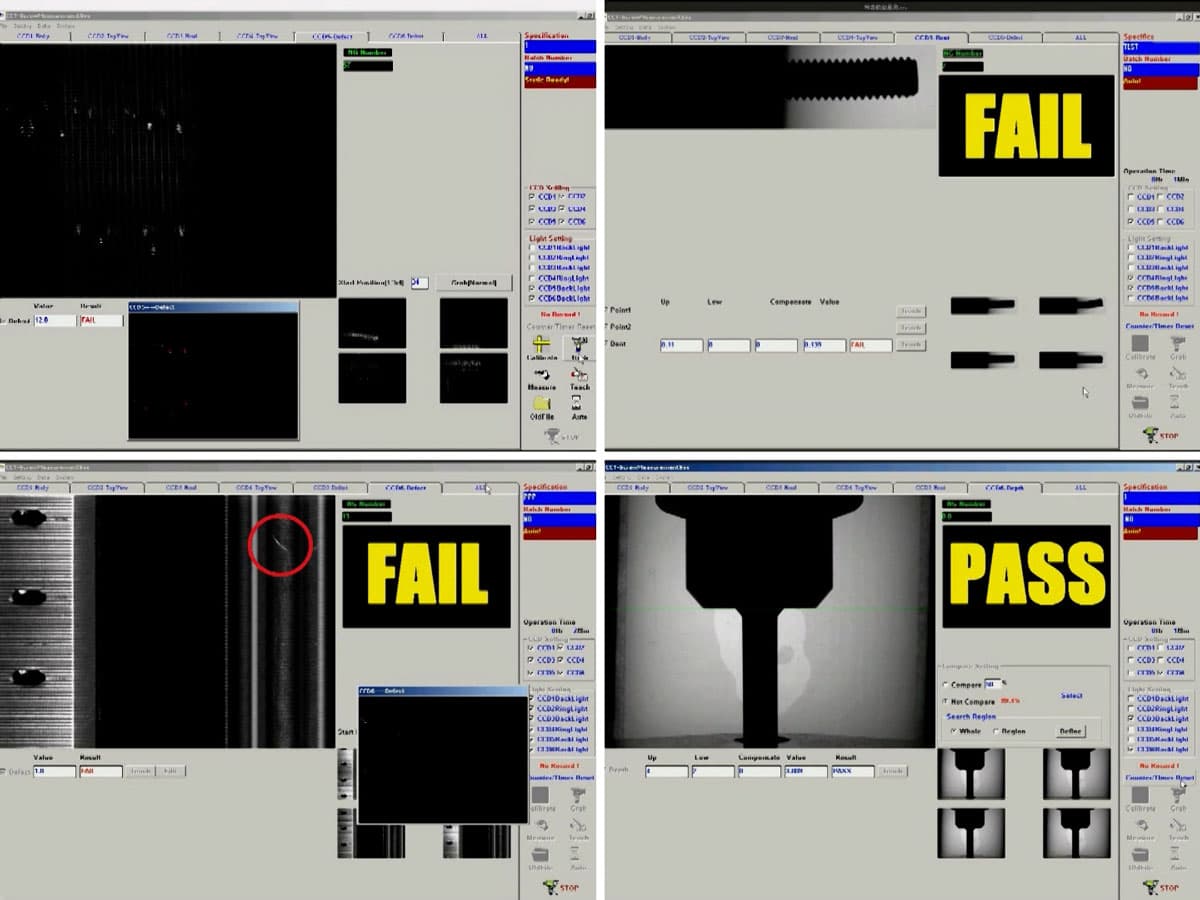
Thanks to the user-friendly software, users can easily enter the required control parameters for products of various types and categories. This allows users to simultaneously create multiple accounts, save sorting profiles, set passwords, create reports, backup data, e.t.c.
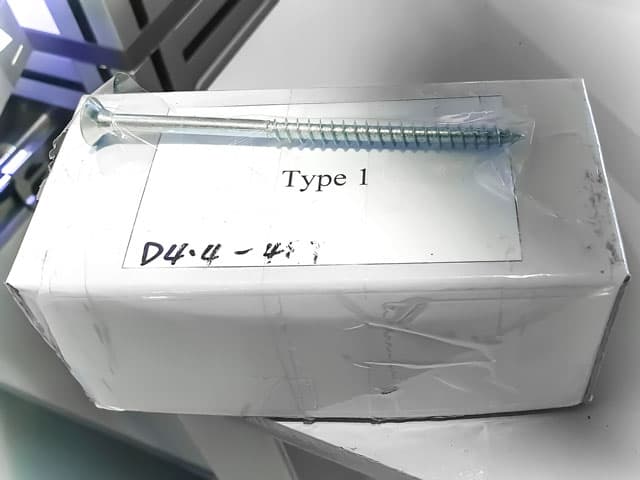
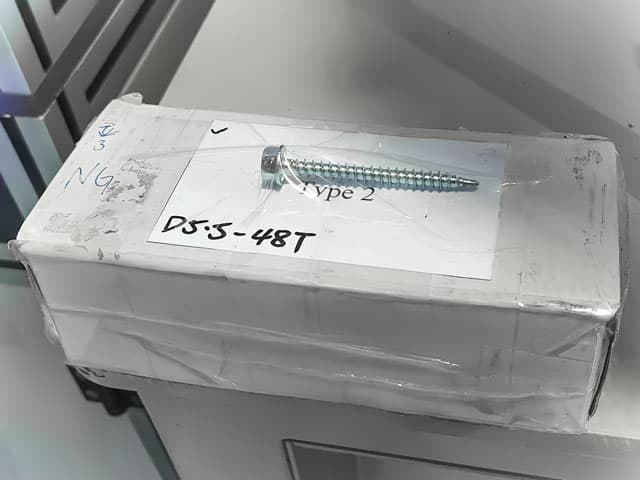
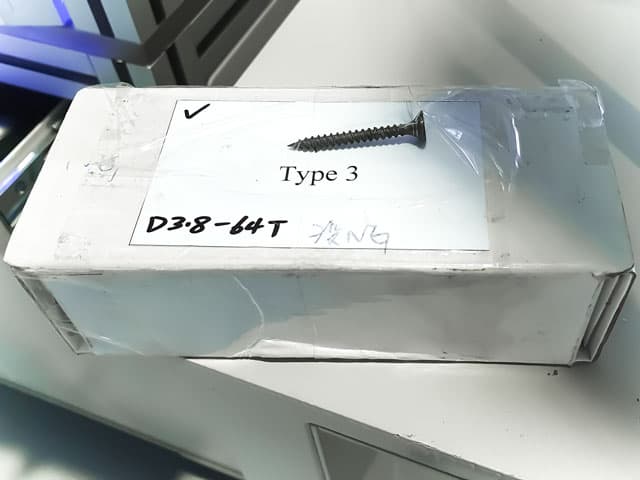
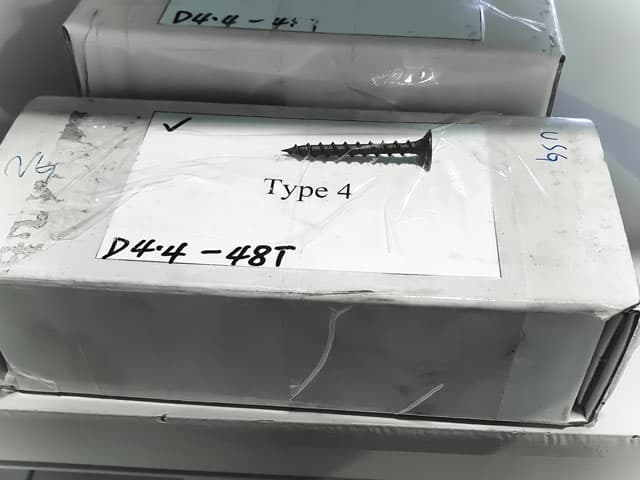
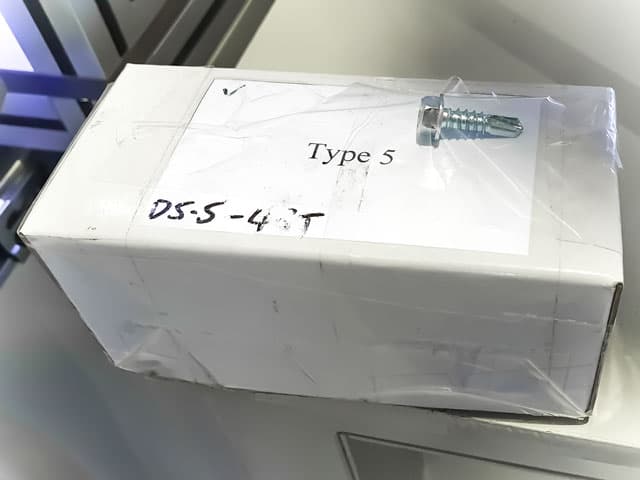
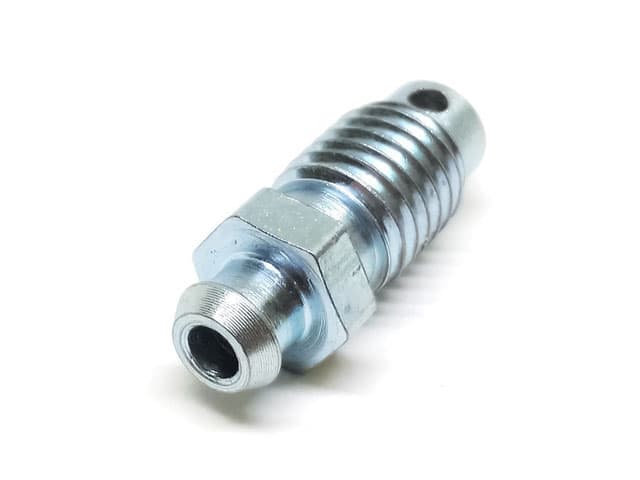
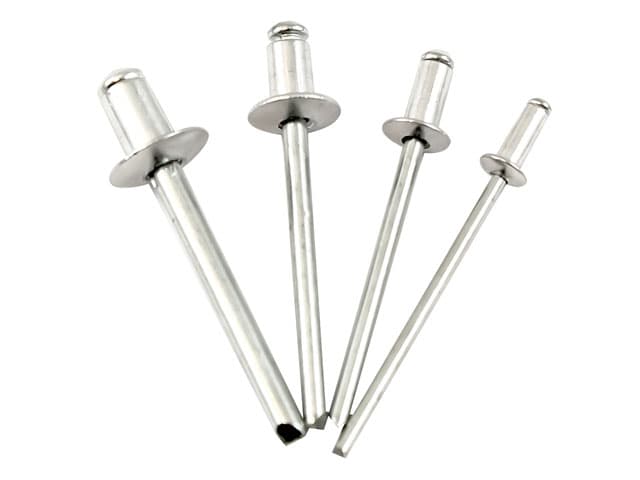
Types of sorted fasteners
Video of sorting equipment operation
Automatic packaging equipment (option)
